01
Portable format
Custom Pop-Up Tents
A folding-frame event tent for repeat promotions, exhibitions and mobile brand teams.
Choose it when portability and flexible wall layouts are central to the brief.
Explore this tent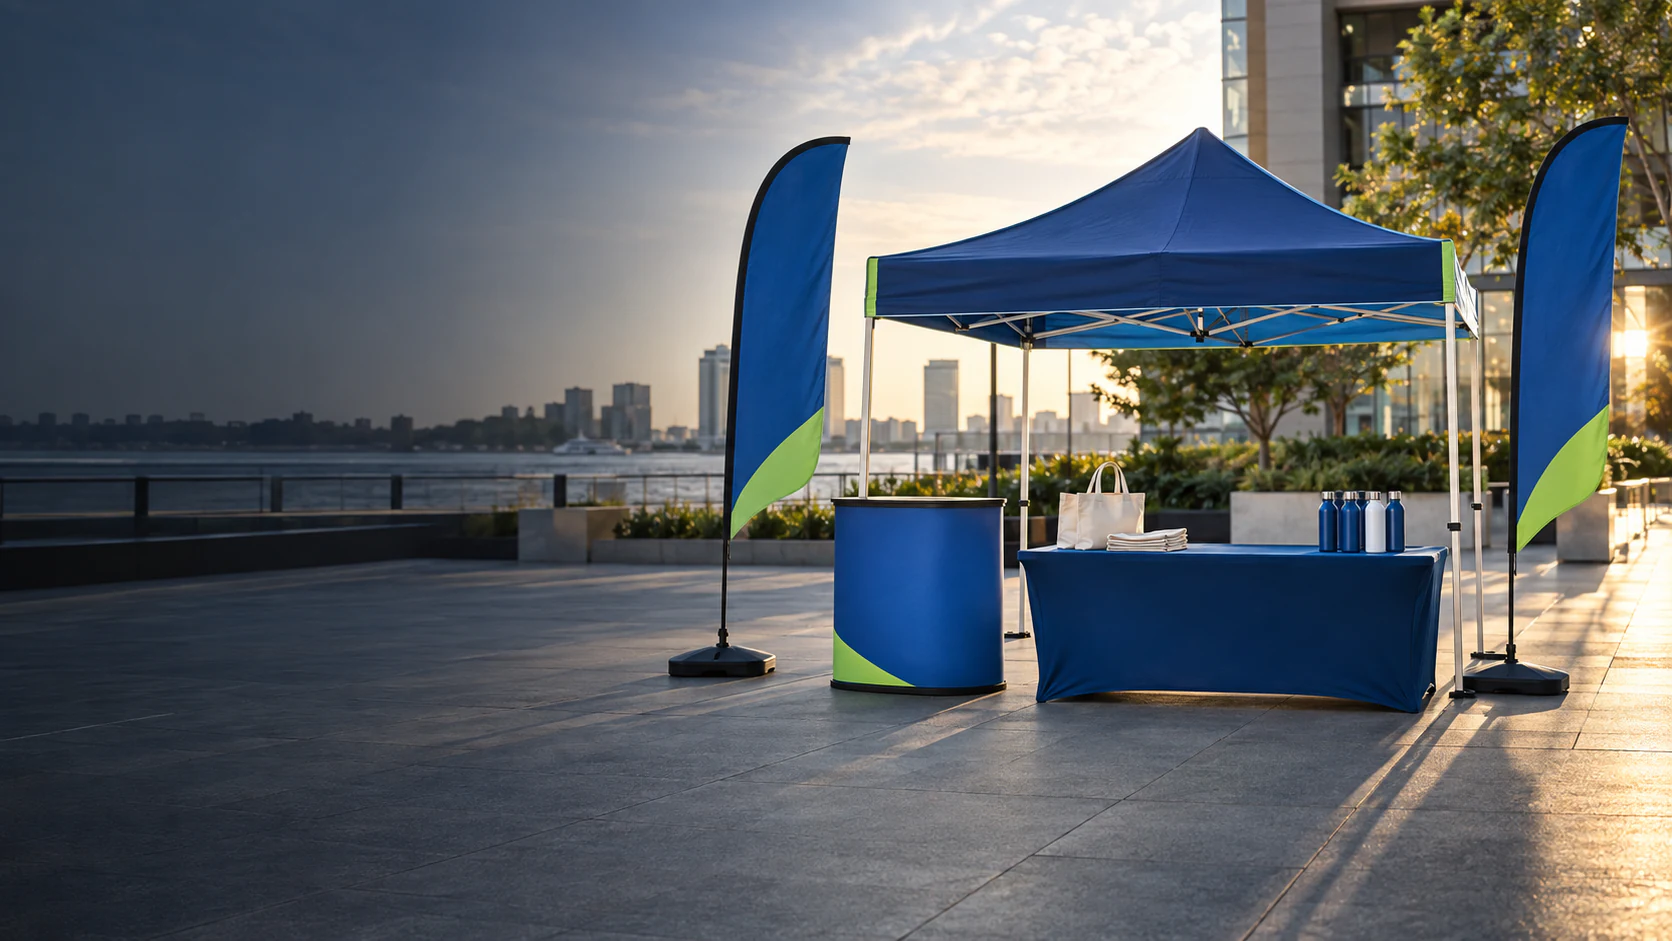
Advertising tents & canopies
Create a highly visible branded space for trade shows, sports events, festivals, retail activations and outdoor promotions. Choose the tent format, size, printed panels and supporting event products that fit your project.
Direct answer
A custom advertising tent is an event canopy with branded graphic areas on the roof, valance or selected walls. It creates a defined space for trade shows, races, festivals and brand activations. The footprint, frame, fabric, artwork and wall layout are confirmed for the individual project.
Find your starting point
Start with the footprint or format that best matches the event. Each project is then refined around graphics, walls, quantities and supporting branded products.
Portable format
A folding-frame event tent for repeat promotions, exhibitions and mobile brand teams.
Choose it when portability and flexible wall layouts are central to the brief.
Explore this tentCompact footprint
A focused booth footprint for trade shows, registration points and local activations.
Choose it for a clear branded zone where event space is limited.
Explore this tentMore display width
A wider footprint for demonstrations, hospitality counters and product displays.
Choose it when the team needs more working width without a double-size booth.
Explore this tentLarge activation zone
A larger event footprint for multiple staff, visitor touchpoints or product stations.
Choose it when several event functions need to sit beneath one canopy.
Explore this tentHigh-visibility format
An inflatable-format tent concept for prominent event installations and open venues.
Choose it when distinctive event presence is the first planning priority.
Discuss this formatProject-led configuration
A canopy project planned around footprint, graphics, access and supporting displays.
Choose it when the brief starts with the event environment rather than a fixed format.
Discuss this formatOptional sourcing guide
Choose the tent format first, then organize the wall layout, branding areas and model-specific accessories. Every choice can be refined with the project team.
Choose a tent format based on the space and how it will be used.
Every step is optional. Choose as much as you know, or get a quote now with your contact details and requirements.
Buyer comparison
A compact comparison for matching event function, working footprint and branding coverage. Final construction and availability are confirmed for the selected configuration.
| Tent Type | Typical Footprint | Best For | Branding Area | Setup Style |
|---|---|---|---|---|
| 10×10 tent | 10×10 ft / 3×3 m | Compact booths, trade shows and local activations | Roof, valance and selected walls | Pop-up frame format |
| 10×15 tent | 10×15 ft / approx. 3×4.5 m | Product demonstrations and wider promotional spaces | Wider canopy plus wall layouts | Pop-up frame format |
| 10×20 tent | 10×20 ft / approx. 3×6 m | Multi-person activations and larger event footprints | Extended canopy plus wall layouts | Pop-up frame format |
| Pop-up tent | Multiple size families | Portable event setups and repeated promotional use | Canopy, valance and configurable walls | Folding-frame setup |
| Inflatable tent | Project-specific | High-visibility installations and open event sites | Format-dependent graphic areas | Inflatable structure |
Footprint planning
The best tent size leaves enough working room without disrupting visitor flow. Map the available footprint, staff positions, displays, tables or counters, promotional distribution and any supporting flags before choosing a size family.
These are reference families, not a statement that every construction is available in every size.
Custom printing & branding
The canopy roof, valance and selected wall panels can work together as one visual system. Plan the primary logo view, campaign message, sponsor graphics, entrance direction and coordinated event colors around how visitors approach the space.
Plan access and enclosure
Wall choices change how visitors approach the booth, where graphics are seen and how the space supports displays or staff. Use these concepts to describe the desired layout in your brief.
Open access from every side.
A graphic backdrop with an open front.
More enclosure with a clear visitor entrance.
Four-sided enclosure planned around access needs.
A welcoming frontage for visitor flow and displays.
Specification directions
Depending on the tent configuration, projects may use different fabric weights and frame structures. Treat these as discussion points for quotation rather than universal specifications.
Fabric weight, composition and coating remain tied to the selected supplier model. Cross-supplier examples are not presented as interchangeable options.
Frame material and profile are confirmed together for one selected system rather than assembled from separate supplier records.
No wind, waterproof, fire, UV or certification performance is implied by these reference options.
Event applications
XZD Branding connects custom advertising tents with the wider event-branding system—from trade show displays and sports-event visibility to flags, table covers and promotional products.
Create a clear booth, meeting or demonstration zone.
Explore solution ApplicationCoordinate registration, sponsor and team touchpoints.
Explore solutionGive staff, partners and visitors a visible event base.
Plan branded service, sponsor or merchandise zones.
Support sampling, launch and customer-engagement programs.
Build a coordinated welcome, hospitality or information point.
One event. One supplier.
Coordinate the visual elements of your event through one project brief instead of sourcing each item separately.
A coordinated brief can connect the tent with beach flags, table covers, trade show displays, promotional bags, branded apparel and giveaways.
Build My Event PackageOur Process
A project-management view of the stages used to organize requirements, specifications and delivery planning. Applicable production or fulfillment details are confirmed for the individual project.
Outline the event, footprint, quantity and destination.
Choose a size family, access and wall direction.
Share artwork, colors and logo placement priorities.
Review the configuration, artwork and supporting products.
Check the consolidated scope before moving forward.
Proceed with the stages confirmed for the project.
Plan around the required date and destination.
Tell us your event details, size and supporting products in the RFQ.
Buyer guide
Use this checklist to make the first quotation conversation more useful. A complete brief helps connect the tent configuration with artwork, event timing, destination and any supporting branded products.
Trade show, sports event, race, festival, activation or corporate program.
Available site area and any organizer footprint restrictions.
The intended environment and how the space will be used.
Open sides, a back wall, half walls or a more enclosed layout.
Priority logos, campaign messages, sponsor marks and viewing angles.
Available vector files, color references and placement notes.
The total number of tents and whether graphics vary between units.
The date the branded setup needs to be ready for use.
The requested arrival date for event planning.
Country, city and any venue or receiving details available.
Flags, displays, table covers, bags, apparel or giveaways.
Tent buying FAQs
Direct answers for buyers preparing a tent or complete event-package RFQ.
A custom advertising tent is an event canopy planned with branded graphic areas such as the roof, valance and selected walls. It creates a visible, organized space for trade shows, sports events, marathons, festivals and brand activations. The final size, structure, fabric, graphics and wall layout should be confirmed as one project specification.
A 10×10 ft tent is a practical starting point for a compact booth, while 10×15 ft or 10×20 ft formats provide more room for displays, staff and visitor flow. The best choice depends on the organizer’s available footprint, your display plan, the number of people working inside and the access you want to keep open.
A 10×10 tent provides a compact branded zone for one main event function. A 10×20 tent doubles the nominal footprint and can support multiple staff positions, visitor touchpoints or product stations. Before choosing, compare the event-space allowance, furniture, display area and expected visitor movement rather than selecting by size alone.
Roof panels, valances and wall panels can be treated as separate branding areas where the selected tent configuration supports them. Include the required coverage, logo positions and campaign graphics in the RFQ. The appropriate print direction and exact panel layout are then confirmed against the chosen fabric and tent structure.
Different wall graphics can be planned as part of the artwork layout. Identify the purpose and viewing direction of each panel—for example a sponsor wall, campaign message or entrance panel—and provide the corresponding files. The final artwork coverage is reviewed for the selected wall configuration before the project specification is confirmed.
Provide vector logo files when available, plus brand colors or Pantone references, required copy, sponsor graphics and placement notes. A sketch, event plan or previous-branding reference can also help explain the intended result. If final artwork is not ready, use the RFQ to share the references you have and describe the required graphic areas.
Yes. XZD Branding can organize a project brief around a custom tent together with flags, table covers, trade show displays, promotional bags, apparel and giveaways. Coordinating these items through one event-package brief helps align the required visual system, quantities, artwork references, destination and timing without creating separate disconnected requests.
Share the tent type or preferred footprint, quantity, event type, wall configuration, branding areas, artwork status, event date, required delivery date and destination. Also include any supporting products such as flags, table covers or displays. If a detail is undecided, explain the use case so the configuration can be discussed during quotation.
Make your brand seen
Tell us your tent size, quantity, artwork, event date and supporting product requirements. Use one project brief to start building your branded event setup.